Hi guys,
So I have never been one to clean my makeup brushes very often but recently I have begun to keep them clean because I've found a much more easy and effective way of cleaning them. It is a lot more important than we realise to keep our brushes clean and today I'm going to show you how to clean your brushes.
Why Clean Them?
Many people don't realise it but most acne is actually due to dirty makeup brushes. When you use a brush to apply coverage to blemishes or acne, the bacteria is then on your brush so when you use it to apply makeup to other areas of the face, it is spreading the bacteria and causing blemishes in other areas of your skin. If you don't clean them very often, the bacteria is constantly building up and it becomes a very easy way to get bad skin. Cleaning your brushes often can prevent a lot of acne and if you clean them well, they can also be very conditioning to your skin.
How Often Should I Clean My Brushes?
At least once a month on average but if you often use brushes, especially for things like concealer and foundation, you might be better washing them more often. If you have acne prone skin and use makeup every day, I would recommend washing them once a week or spot cleaning them after every use and a deep clean once a month as usual.
How I clean my brushes:
I don't spot clean because personally I don't think it does anything for the brushes, so I tend to deep clean the brushes I have used most every Friday and give them chance to dry fully over the weekend. This may sound very often, but it is better for reducing acne in the long run.
Things you'll need:
Baby Shampoo (or a gentle shampoo)
A Sink or tap
A Towel
Your Brushes
Your hand!
1. Take your gentle shampoo, I use the Johnson's Baby Shampoo in honey. I keep this shampoo specifically for makeup brushes because it is left over from when my little sister was a baby and so we don't use it anymore. A decent sized bottle like mine does last a long time.

2. Now squirt some onto the palm of your hand (preferably over the sink or bath), I like to use quite a decent amount because it lathers better for a deeper clean. I also like to add a drop of water from the tap onto the shampoo because it helps it to lather better.

3. Then take your makeup brush and rub it in circular motions into the shampoo on the palm of your hands. It should lather up and you should quite quickly the colour come out of the brush. The shampoo is usually a clear/white colour so you should see it change depending on the brush. You will be surprised on the amount of foundation that comes out of your brush. Then turn the tap on and wait for the water to be warm, then I put my hand under the tap, continuing circular motions with the brush. Eventually the brush should look just like its new and then its clean!
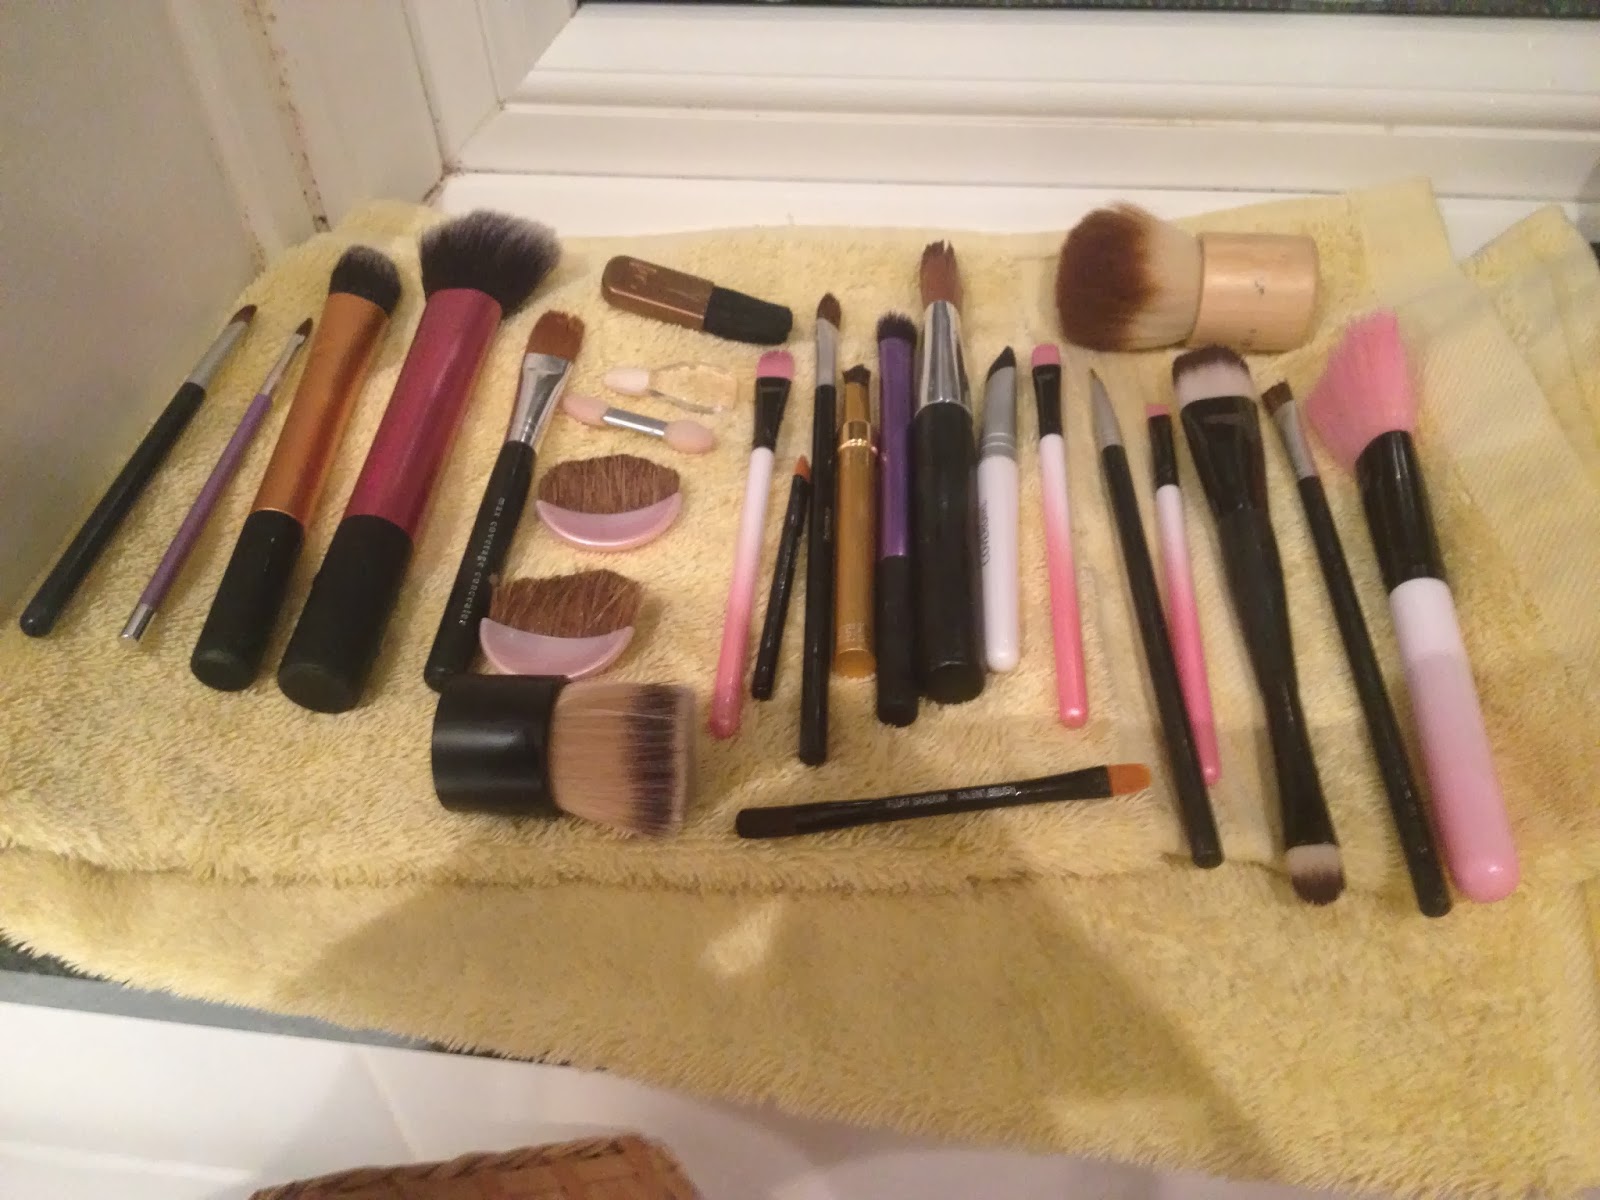
4. Then I put my brush on a towel and leave them to dry. I like to leave them to dry overnight, leave them longer if possible. Now your brushes are clean!

Thank you for reading!
xoxo PinkCupcake xoxo
5
So I have never been one to clean my makeup brushes very often but recently I have begun to keep them clean because I've found a much more easy and effective way of cleaning them. It is a lot more important than we realise to keep our brushes clean and today I'm going to show you how to clean your brushes.
Why Clean Them?
Many people don't realise it but most acne is actually due to dirty makeup brushes. When you use a brush to apply coverage to blemishes or acne, the bacteria is then on your brush so when you use it to apply makeup to other areas of the face, it is spreading the bacteria and causing blemishes in other areas of your skin. If you don't clean them very often, the bacteria is constantly building up and it becomes a very easy way to get bad skin. Cleaning your brushes often can prevent a lot of acne and if you clean them well, they can also be very conditioning to your skin.
How Often Should I Clean My Brushes?
At least once a month on average but if you often use brushes, especially for things like concealer and foundation, you might be better washing them more often. If you have acne prone skin and use makeup every day, I would recommend washing them once a week or spot cleaning them after every use and a deep clean once a month as usual.
How I clean my brushes:
I don't spot clean because personally I don't think it does anything for the brushes, so I tend to deep clean the brushes I have used most every Friday and give them chance to dry fully over the weekend. This may sound very often, but it is better for reducing acne in the long run.
Things you'll need:
Baby Shampoo (or a gentle shampoo)
A Sink or tap
A Towel
Your Brushes
Your hand!
1. Take your gentle shampoo, I use the Johnson's Baby Shampoo in honey. I keep this shampoo specifically for makeup brushes because it is left over from when my little sister was a baby and so we don't use it anymore. A decent sized bottle like mine does last a long time.
2. Now squirt some onto the palm of your hand (preferably over the sink or bath), I like to use quite a decent amount because it lathers better for a deeper clean. I also like to add a drop of water from the tap onto the shampoo because it helps it to lather better.
3. Then take your makeup brush and rub it in circular motions into the shampoo on the palm of your hands. It should lather up and you should quite quickly the colour come out of the brush. The shampoo is usually a clear/white colour so you should see it change depending on the brush. You will be surprised on the amount of foundation that comes out of your brush. Then turn the tap on and wait for the water to be warm, then I put my hand under the tap, continuing circular motions with the brush. Eventually the brush should look just like its new and then its clean!
4. Then I put my brush on a towel and leave them to dry. I like to leave them to dry overnight, leave them longer if possible. Now your brushes are clean!
Thank you for reading!
xoxo PinkCupcake xoxo


